Teach your agent the app
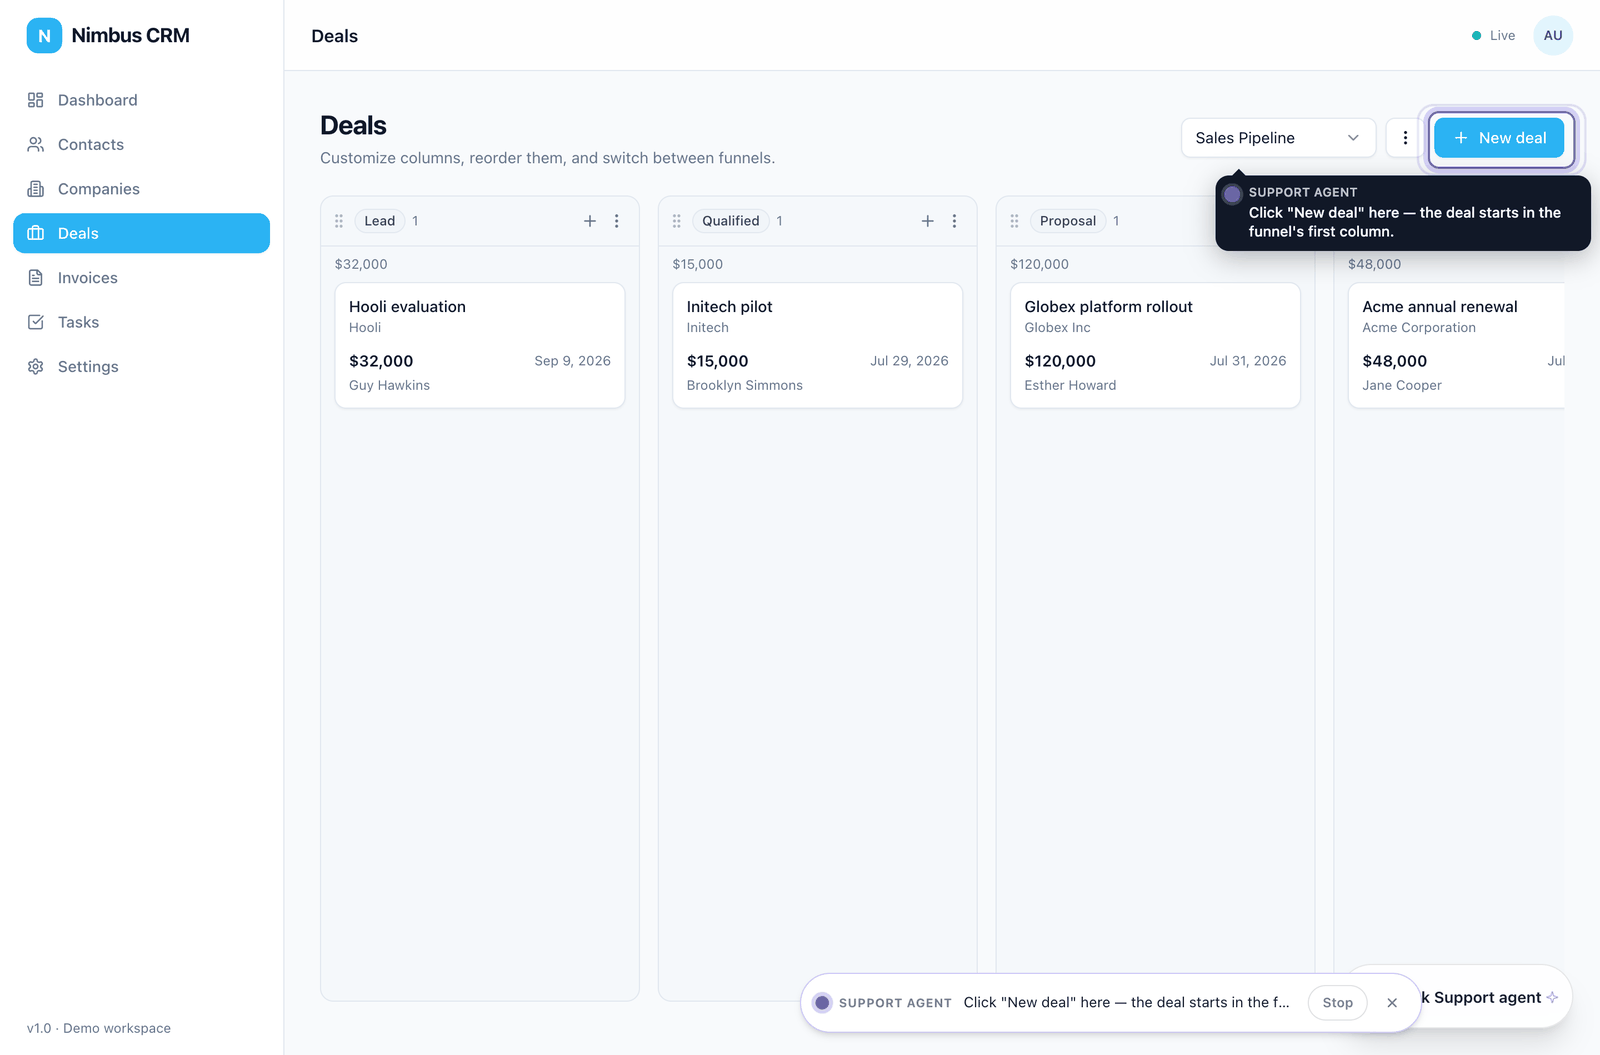
At the end of this tutorial, a new user of Nimbus CRM asks the agent how to add a deal. The agent opens the Deals screen and points at the New deal button.
In this tutorial, you:
Before you begin
- A Web Agent for Nimbus CRM, created with the goal Get the work done for them, whose analysis has finished. See Build your first Web Agent.
- The agent is installed in Nimbus CRM. See Installation.
An agent created with the goal Teach people to use the app or Both already has a map. Skip to Read the map.
Start the map run
- In the portal, go to Web Agents and select the Nimbus CRM agent.
- Select the Guide tab, then Screens. The tab lists the routes the analysis found.
- Select Map the app. The Teach your agent the app page opens.
- On the page's first step, select Map the app.
Step 4 does two things. It turns the Guide on for the agent, and it starts a map run, which reads the repository on your model provider and is billed like an analysis. Your users are guided once a version that has the map is published and deployed.
The page moves to Mapping the app. It shows one card for the orientation and one for each area of the app. You can leave the page and come back. Stop ends the run, and Resume continues it from the areas already mapped.
Checkpoint
The third step reads Your agent shows the way now, with the number of screens and tasks the run wrote.
Read the map
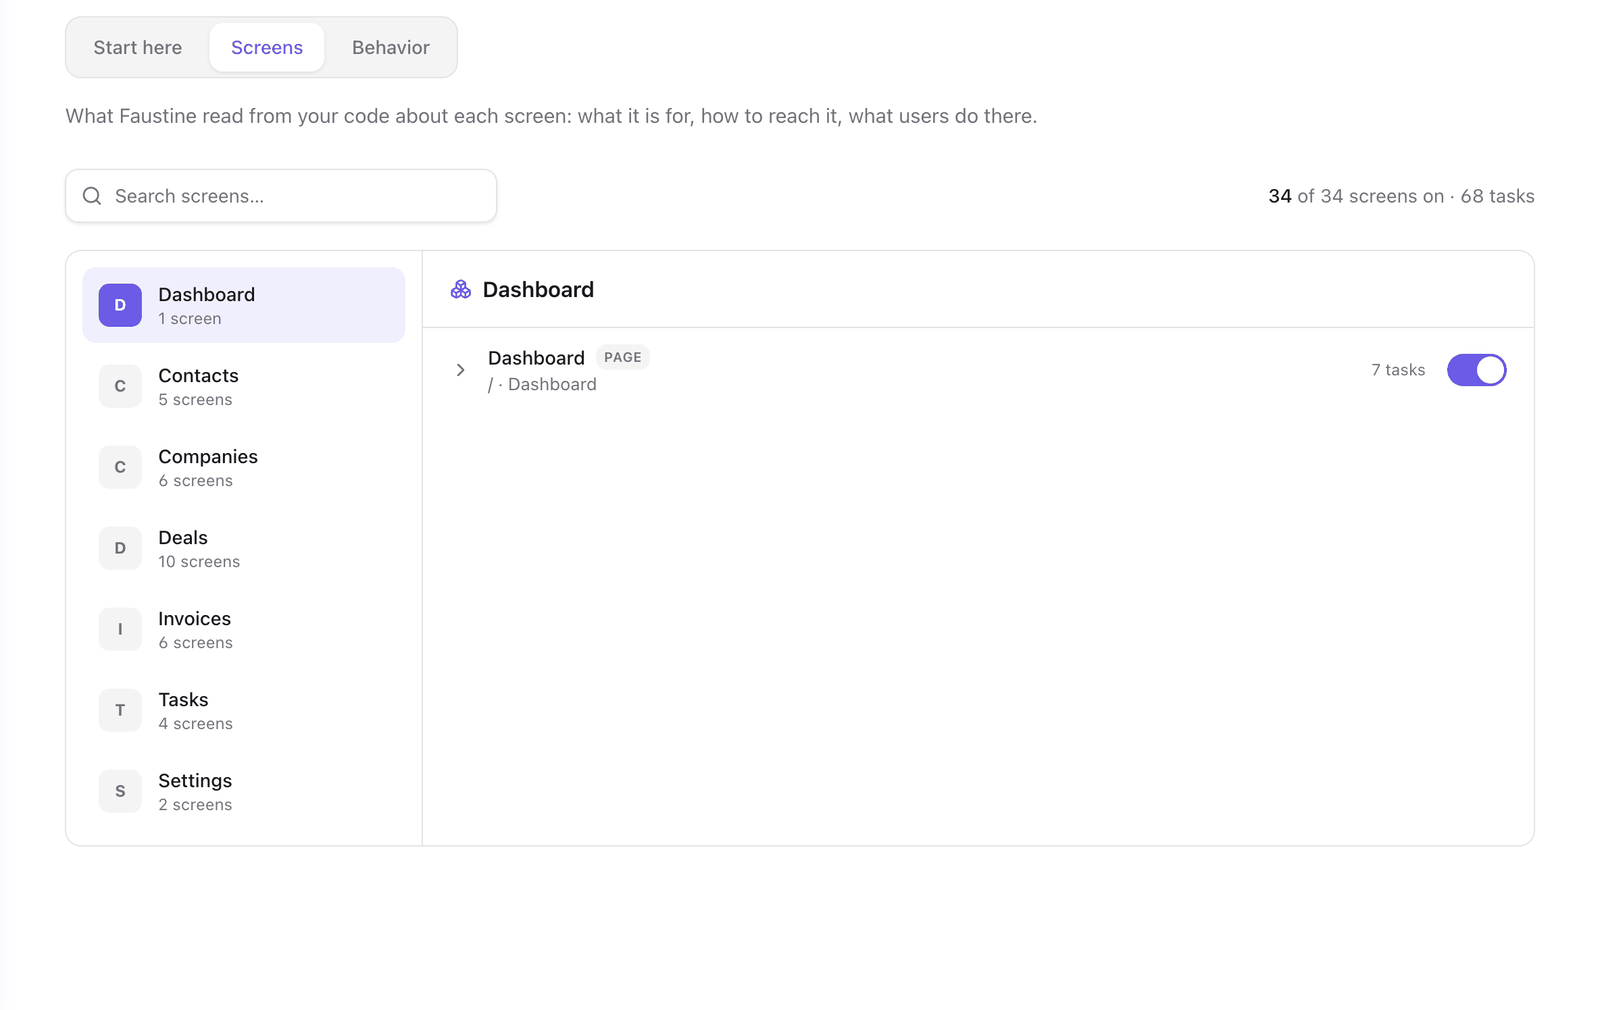
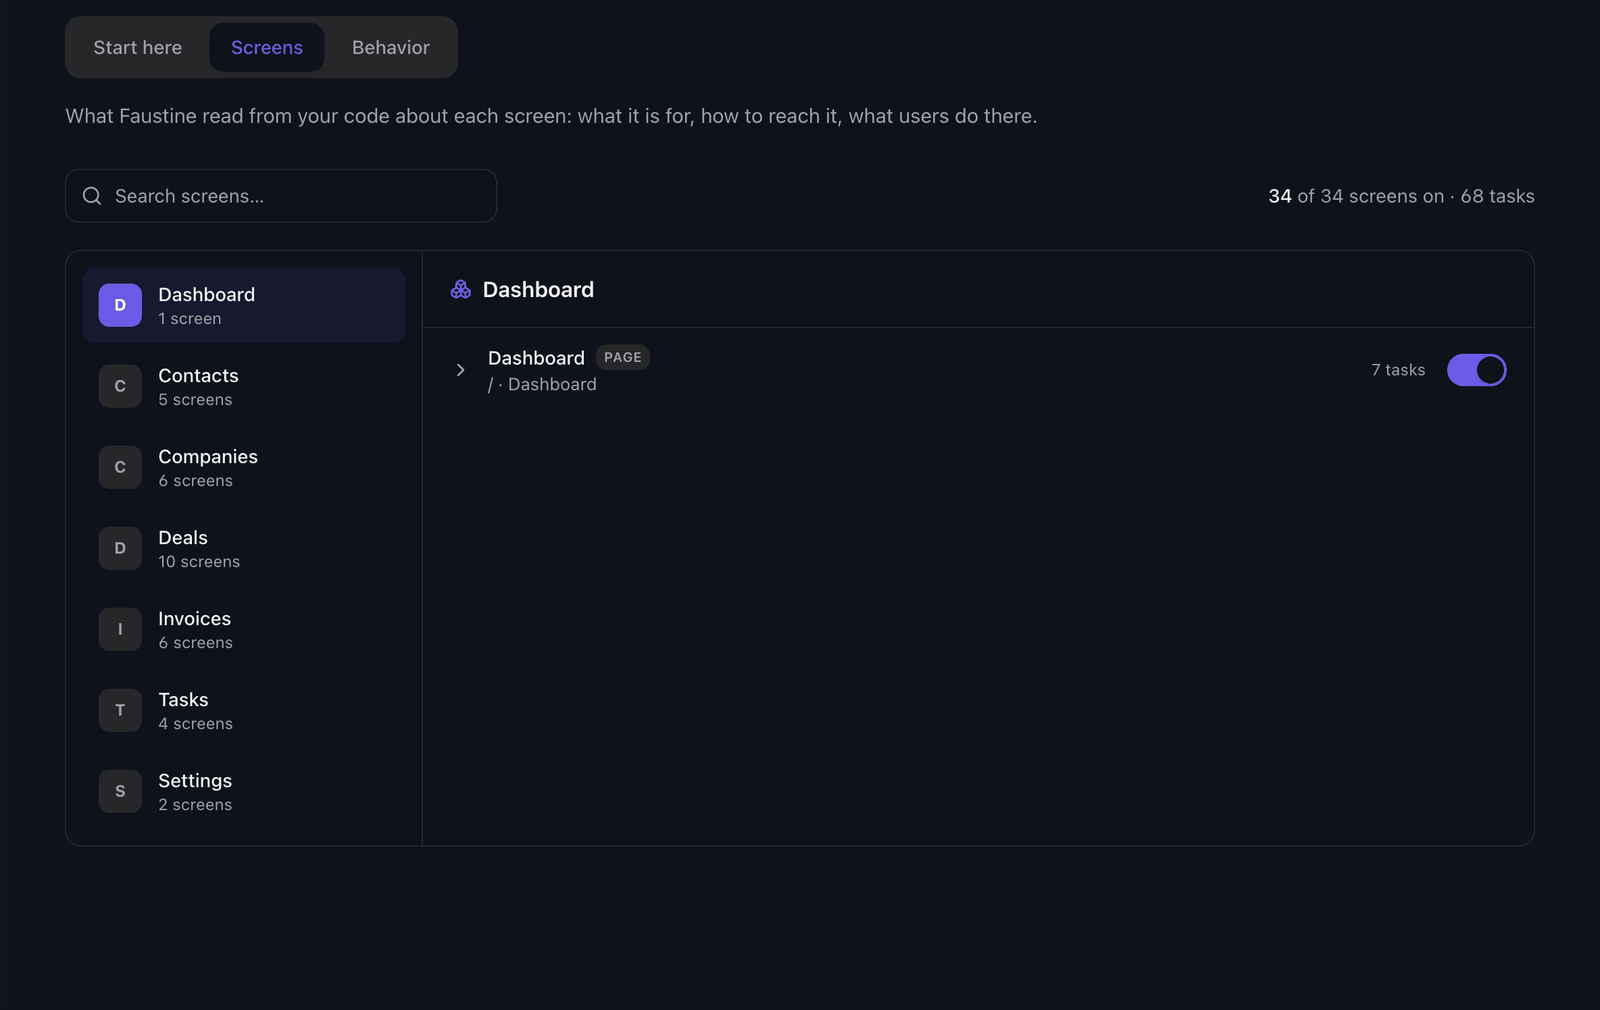
- Select Review the screens. The Screens tab opens with the app's areas in a list.
- Select the area that holds the Deals screen, then select the screen's row. The row opens with What it is for, What is on it and What users do here.
- Read the task for adding a deal under What users do here. Its steps are the lines the agent says while it points.
- Select Start here. The page shows what the agent tells someone new: what the app is for, its concepts and the first steps.
The names of the areas, screens and tasks are the ones the run wrote from the code. To change any of them, see Edit screens and first steps.
Publish and deploy
The map is in the draft. Your users get it with a version.
- Publish a version.
- Deploy the version to the environment Nimbus CRM loads.
Ask the agent the way
- Open Nimbus CRM and sign in. Stay on the Dashboard.
- Open the widget and send
How do I add a deal?.
The agent answers and the chat moves out of the way. The app goes to the Deals screen and a pointer appears on the New deal button, with the first step next to it. Select the button and the pointer moves to the next step. To end the plan early, select Stop or press Escape.
What you built
The Nimbus CRM agent has an app map with every screen and the tasks users do on each one, and it guides users with it. The map is under the agent's Guide tab, in Start here and Screens.
Next steps
- Edit screens and first steps: correct a purpose, reorder the first steps, turn a screen off.
- Guide behavior: turn pointing off, or let the agent operate the screen.
- The Guide: how the map and the page work together.
Last updated November 13, 2026