Web Agents
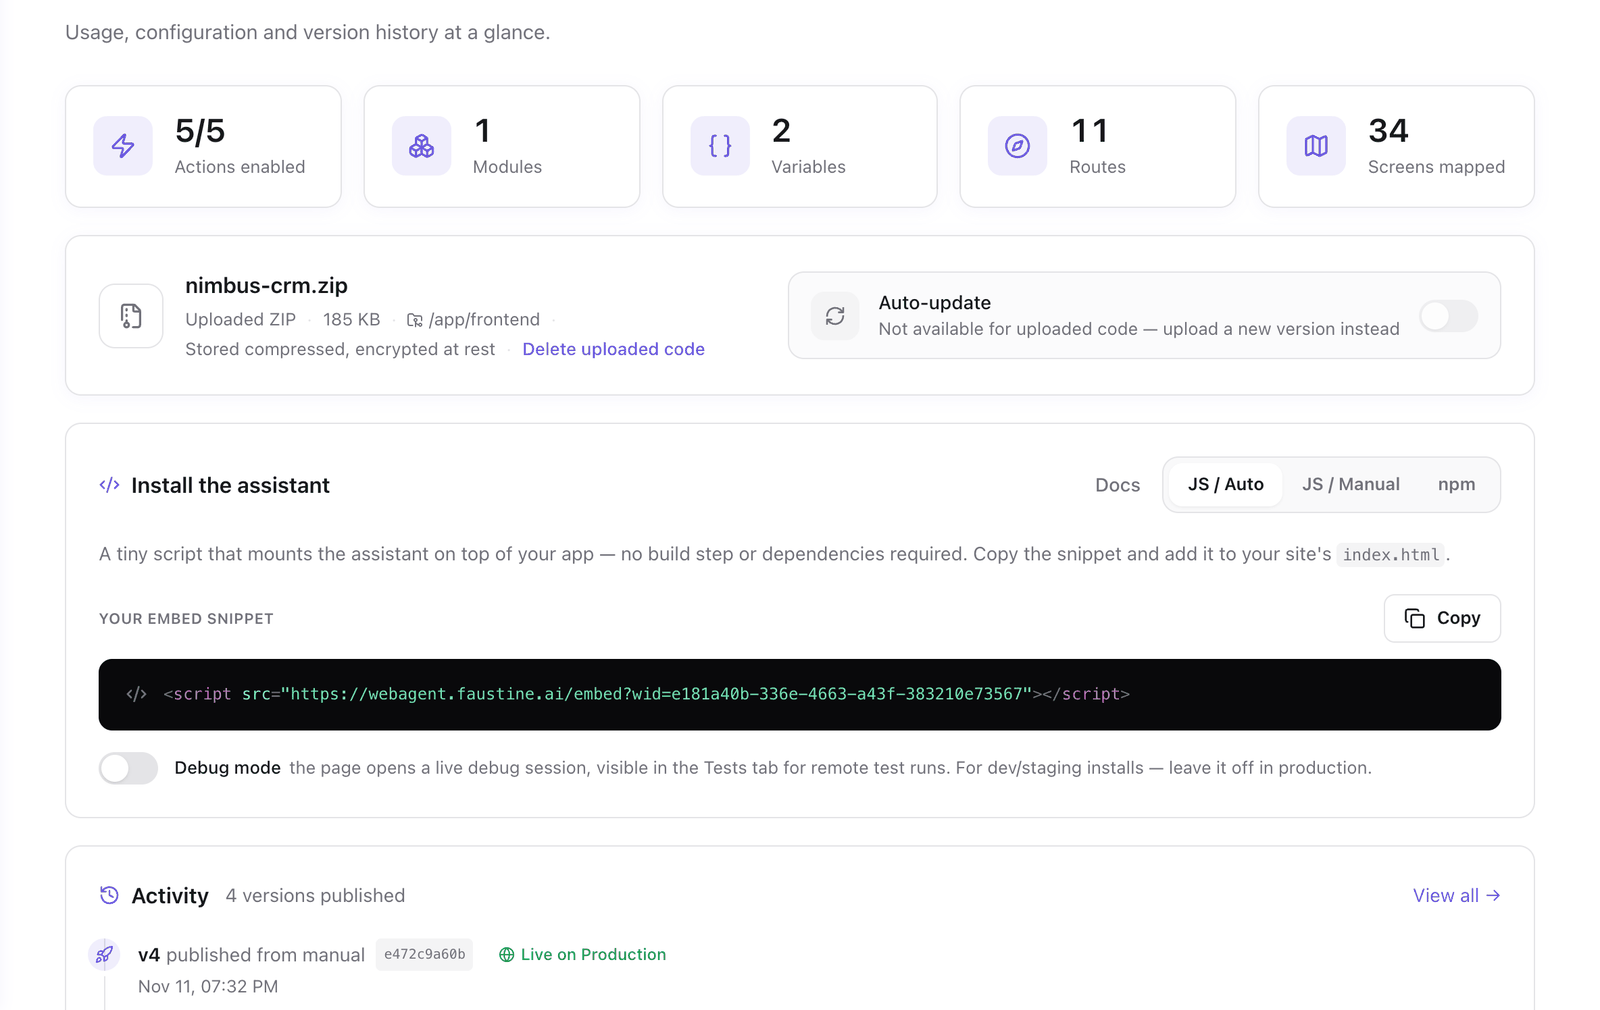
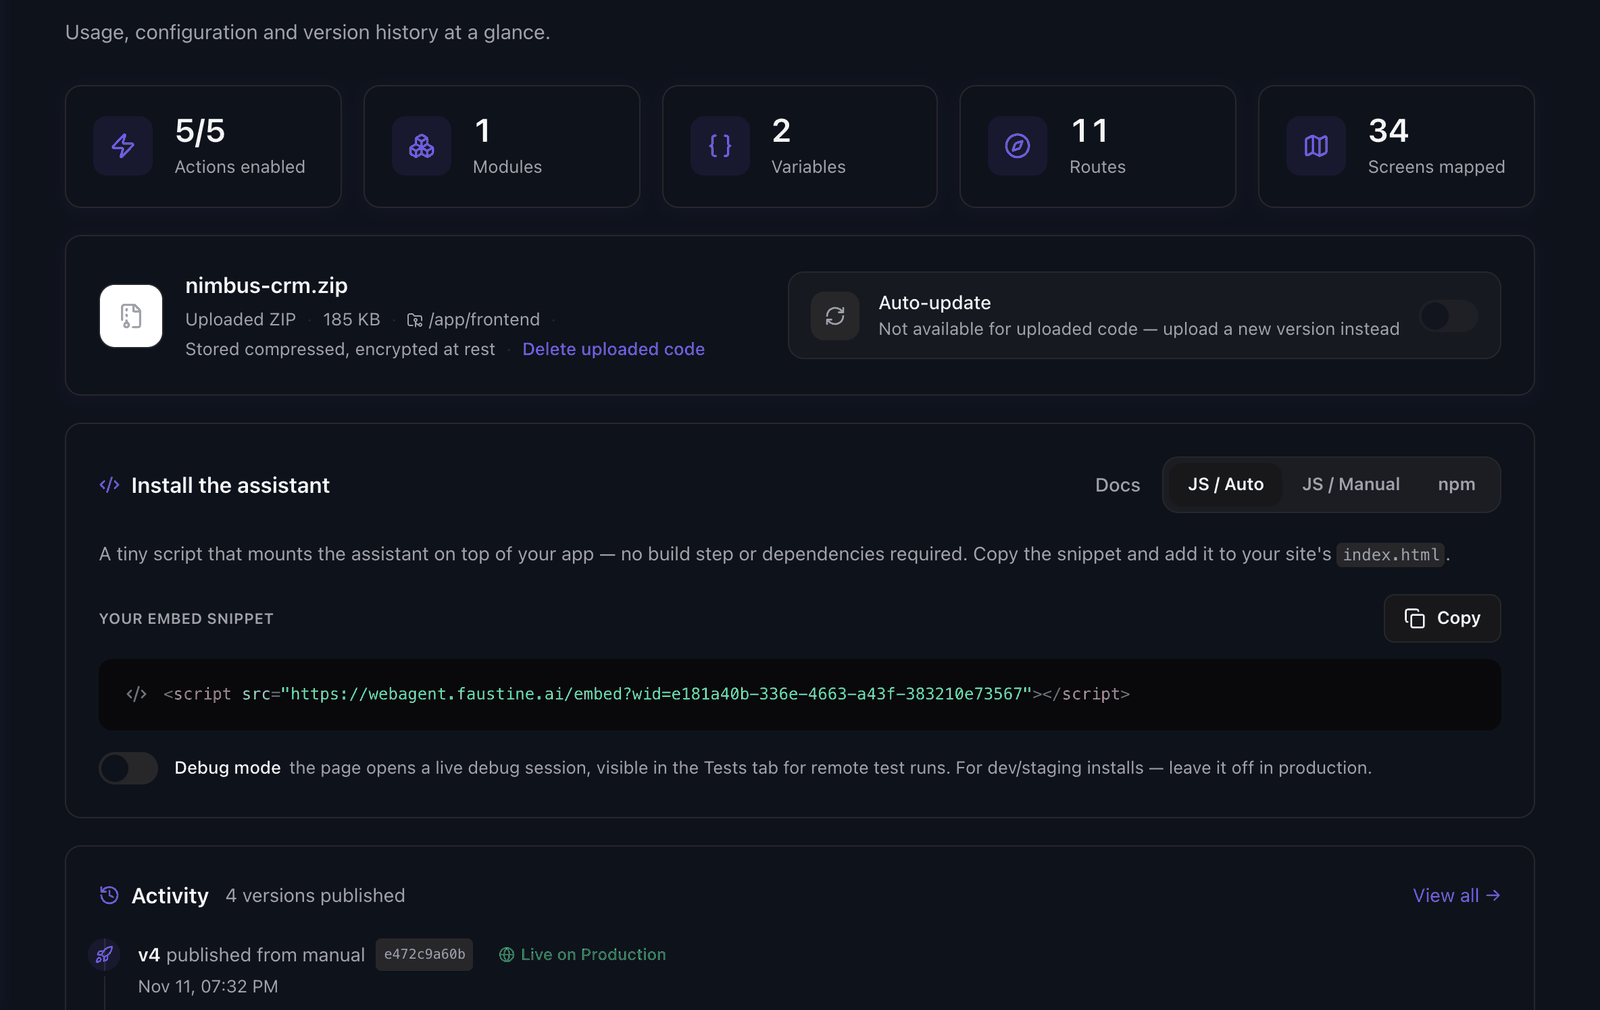
A Web Agent is an AI agent that runs inside your web app and does things in it for the signed-in user: creates the contact, opens the right screen, answers from your documents. Faustine builds it from the app's front-end code. You manage it in the portal under Web Agents.
How it works
Faustine reads your repository and writes one action for each thing a user can do in the app. An action is JavaScript that calls your app's API the way the app does. It runs in the user's browser, inside your page, with the user's session. The agent can do what that user can do by hand and nothing else. It has no credentials of its own.
Your site loads the agent with a script tag or an npm package. The user talks to it in a widget, and the model decides which actions to run. The model is one from your own model provider, so your provider bills you for the tokens.
Changes you make in the portal go into a draft. Publishing the draft creates a version, and each environment serves one version.
The parts of a Web Agent
| Part | What it is | Where in the portal |
|---|---|---|
| Module and action | What the analysis found the app can do, grouped by feature. | Actions |
| Authentication and navigation | How the app keeps a user signed in and how it moves between screens. | Actions, in the Assistant group |
| Variable | A configuration value the actions read, such as the API base URL, with a value for each environment. | Variables |
| Persona and knowledge | How the agent describes your app and itself, and the documents it answers from. | Assistant |
| Chat model | The model that answers in the widget. | Assistant > AI Model |
| Look and feel | The widget, its launcher and its colors. | Look & feel |
| Version | A published snapshot of the actions, the persona and the look. The draft is the next version. | Versions |
| Environment | A named place such as Staging or Production. Each serves one version on the domains you allow. | The agent's header |
From code to a working agent
- Create a Web Agent: pick the framework, name the agent and connect your code, or upload a ZIP.
- Run the analysis and choose what to analyze.
- Review the actions: turn off or test the ones you want to check, and require confirmation where the user has to agree first.
- Shape the agent: the persona, knowledge, web search, the chat model and its appearance.
- Publish a version and add the agent to your site. See Installation.
- Watch it work in the logs and cover it with tests.
When your code changes, keep the agent up to date.
Supported frameworks
| Kind of app | Frameworks |
|---|---|
| Single Page Application | React, Angular, Vue, Svelte, SolidJS, Preact, Alpine.js, vanilla JavaScript |
| Server Side Rendering | Next.js, with the App Router or the Pages Router |
The code comes from GitHub, GitLab, Bitbucket or a ZIP file.
Change what the analysis wrote
Everything the analysis generates can be edited.
- Edit an action to change its description or its code.
- Authentication and Navigation each have their own code and description.
- Set variables for each environment when Staging and Production call different backends.
- The Advanced editor changes any of them from a conversation, with your repository open beside it.
- Add reference repositories and API docs when the front-end code alone does not show a contract.
Next steps
- Build your first Web Agent: the whole path on an example app.
- Create a Web Agent: start with your own app.
- Installation: the ways to load the agent in your site.
- The Guide: an agent that shows users how to use the app.
Last updated November 13, 2026