Let your agent call Server Actions
At the end of this tutorial, the agent marks an invoice as paid in the Next.js version of Nimbus CRM by running setInvoiceStatus, a Server Action that has no URL. The invoices table shows the new status without a reload.
In this tutorial, you:
- Read the Data surface
- Generate the adapter
- Read the registry
- Publish a version
- Ask the agent
- Check the registry in CI
Before you begin
The Next.js version of Nimbus CRM, or your own App Router app with Server Actions. To run the example:
terminalgit clone https://github.com/faustine-ai/example-nimbus-crm-next.git cd example-nimbus-crm-next npm install npm run devThe app runs at
http://localhost:3000. Sign in with[email protected]andadmin123. Its Server Actions are insrc/lib/actions/and its server-only data functions are insrc/lib/dal/. The only route handler,src/app/api/events/route.ts, streams the live activity feed.A Web Agent created for the app with Next.js as its technology, whose analysis has finished. See Create a Web Agent.
The agent mounted in the app. See Install in Next.js. In the example, the component goes in
src/app/faustine-agent.tsxand the root layout issrc/app/layout.tsx. The tutorial does not needidentityJwt.
Read the Data surface
When the analysis of a Next.js app finishes, its summary shows a Data surface card. The card says which of the app's data the agent can reach.
- On the analysis summary, find the Data surface card.
- Select Reachable with the adapter. The group lists each Server Action and data function with its kind, its file and a description. In the example it has 36 entries, among them
setInvoiceStatusfromsrc/lib/actions/invoices.tsandgetInvoicefromsrc/lib/dal/invoices.ts. - Select Reachable now. In the example it has two entries, and both are the live feed: the route handler and the
EventSourcethat reads it.
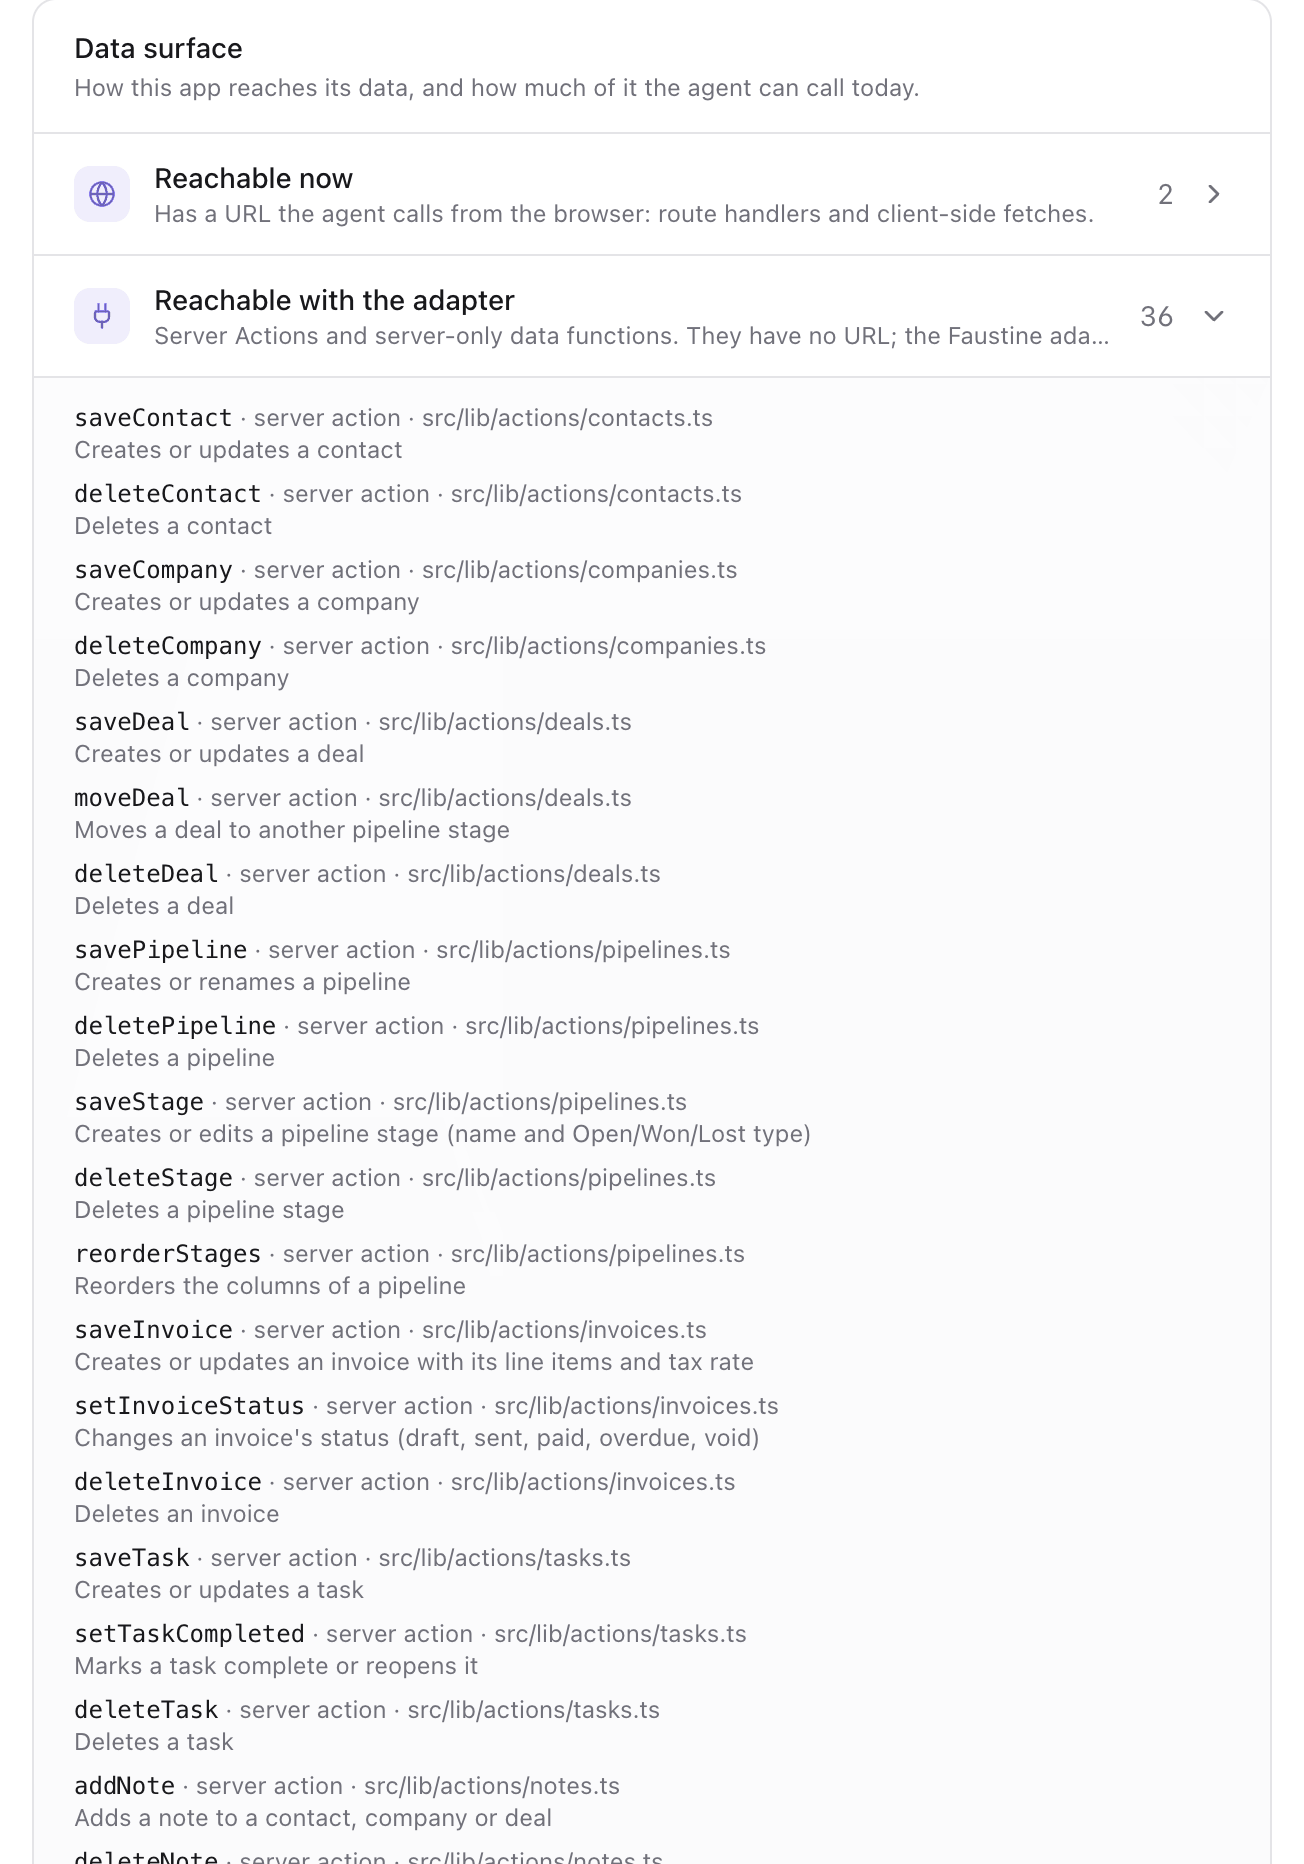
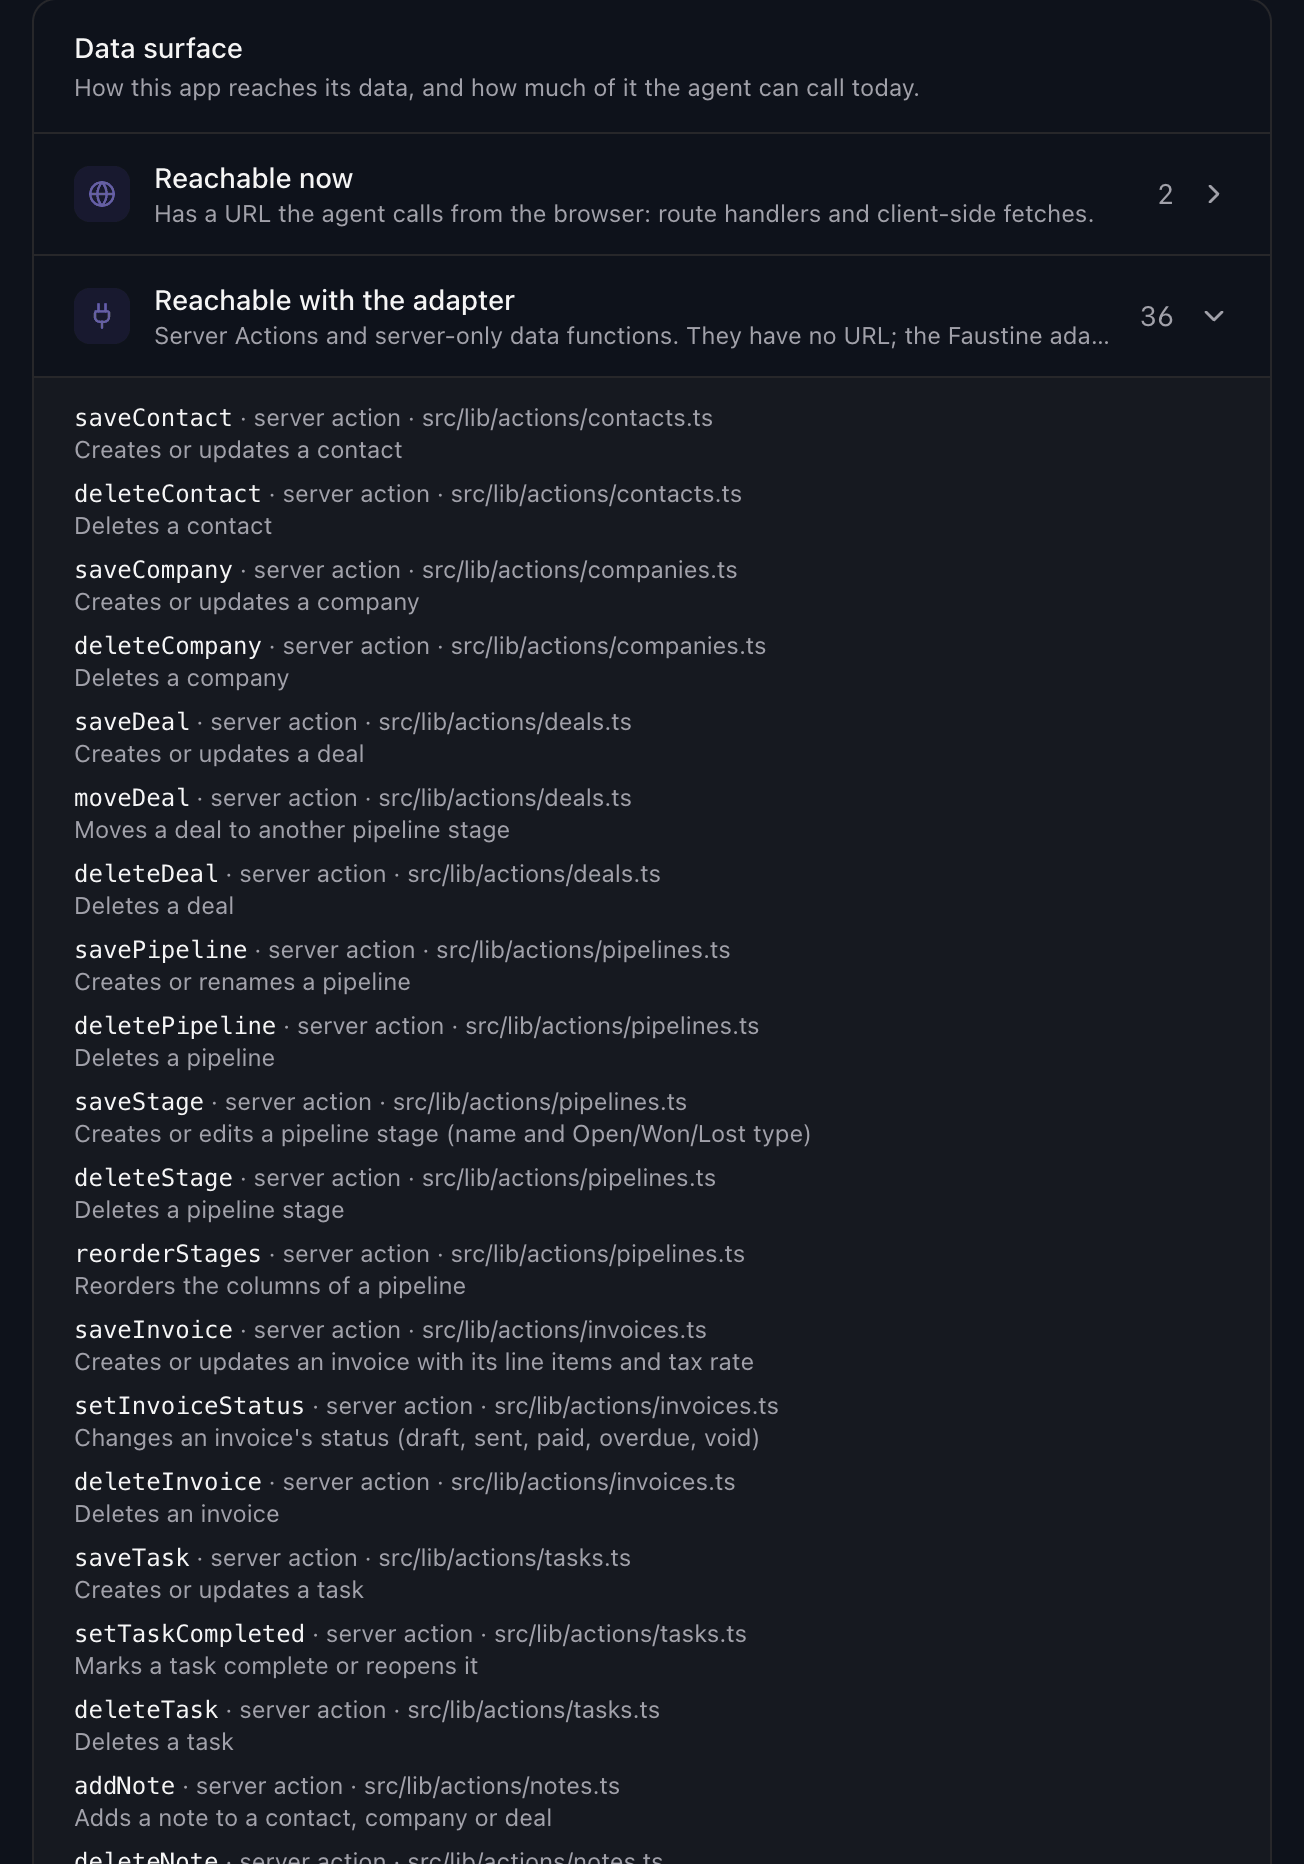
Not reachable is empty in the example, because every page reads its data through a function in src/lib/dal/. A page that reads its data inline in the component would appear there, with a Suggested line that names the data function to extract.
Without the adapter, the agent can open pages of this app and cannot read or change an invoice.
Generate the adapter
faustine-next is the command-line tool of @faustine-ai/next. It writes the adapter's files from the operations in the Data surface.
In the portal, go to Web Agents, select your agent, and find the Install the assistant card in the Overview tab.
Select By hand.
Select Create install command. The Adapter step now contains a setup code that starts with
fns_. The code can be used once and expires after 30 minutes.In the app's directory, print the plan.
<SETUP_CODE>is the code from the card.terminalnpx faustine-next init --setup <SETUP_CODE> --dry-runPlan for Web Agent <AGENT_ID> — registry 55b2eb23eb603786 create src/faustine/registry.ts create src/app/api/faustine/[...op]/route.ts create AGENTS.md 36 operation(s) bound: - contacts.saveContact - contacts.deleteContact - companies.saveCompany ... Nothing written (--dry-run). Adapter token stored at ~/.config/faustine/adapters/<AGENT_ID>.json.This run exchanges the setup code for an adapter token and stores the token on your machine.
Write the files. The same code works again on this machine because the token is already stored.
terminalnpx faustine-next init --setup <SETUP_CODE>Outside a terminal, such as in a script or a coding agent, add
--yes.
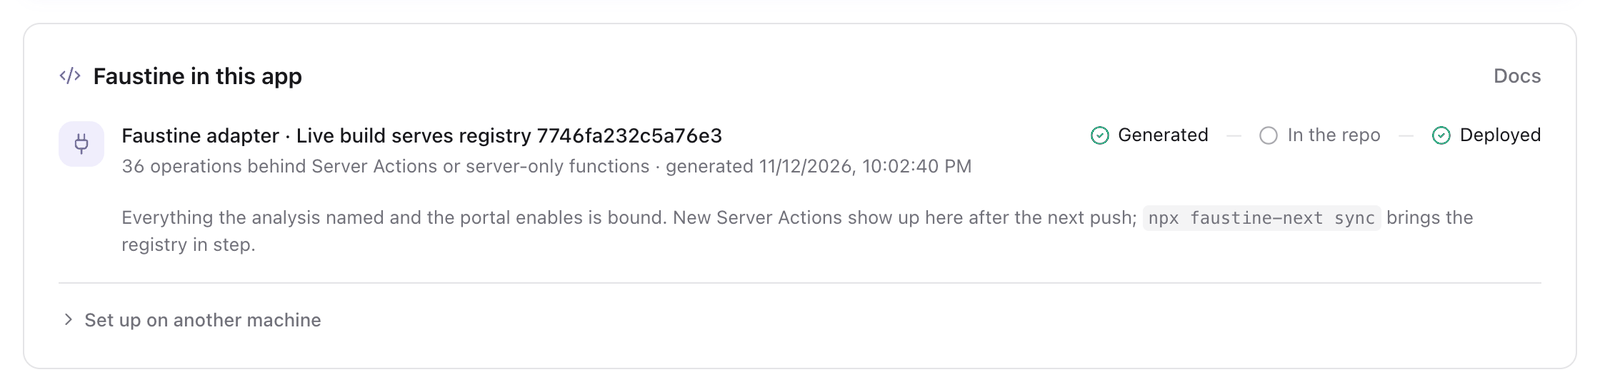
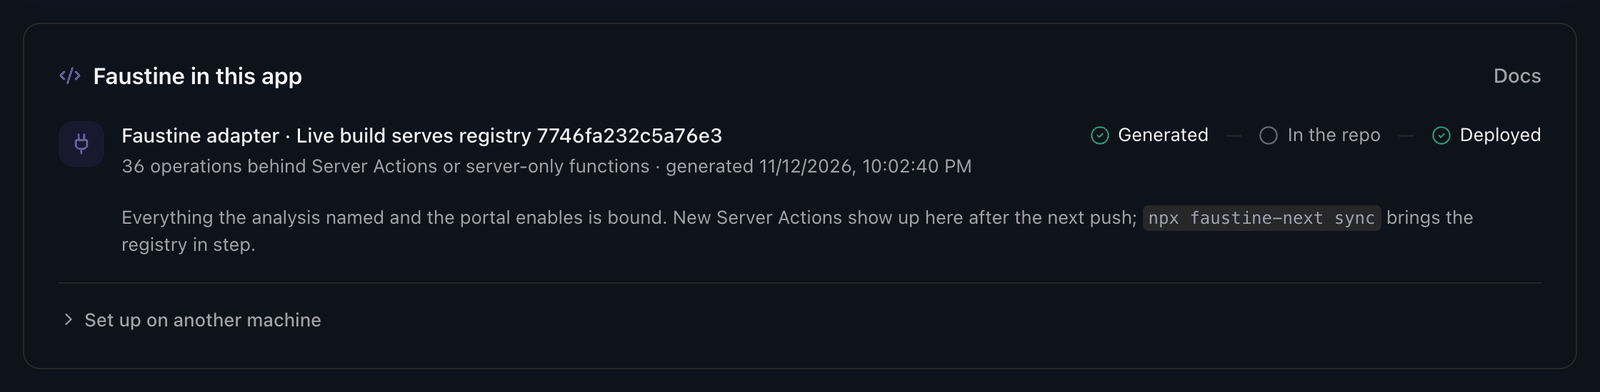
init also reports the registry to Faustine. Reload the Overview: the card is now titled Faustine in this app and shows the state of the adapter.
Read the registry
The registry is the list of functions the agent may call. Nothing outside it can run through the adapter.
Open
src/faustine/registry.ts.src/faustine/registry.tsimport { createRegistry } from '@faustine-ai/next' export default createRegistry({ webAgent: '<AGENT_ID>', formatVersion: 1 }, { // One invoice with its line items and totals 'invoices.getInvoice': { fn: () => import('@/lib/dal/invoices').then((m) => m.getInvoice), params: ['id'] }, // Changes an invoice's status (draft, sent, paid, overdue, void) 'invoices.setInvoiceStatus': { fn: () => import('@/lib/actions/invoices').then((m) => m.setInvoiceStatus), params: ['invoiceId', 'status'] }, // Deletes a pipeline 'pipelines.deletePipeline': { fn: () => import('@/lib/actions/pipelines').then((m) => m.deletePipeline), params: ['pipelineId'] }, // More lines omitted. })Each line has the name the agent knows, an import of your function and the function's parameter list.
Delete the line of
pipelines.deletePipeline, with the comment above it. Deleting a pipeline removes its stages and deals, and in this tutorial the agent should not be able to do that. A removed line keeps that function private, andsyncdoes not add it back.Open
src/app/api/faustine/[...op]/route.ts. It mounts the handler that runs the registry's functions.src/app/api/faustine/[...op]/route.tsimport { createFaustineHandler } from '@faustine-ai/next' import registry from '@/faustine/registry' export const { GET, POST } = createFaustineHandler(registry)Ask the handler what it serves.
terminalcurl http://localhost:3000/api/faustine/manifest{ "webAgent": "<AGENT_ID>", "formatVersion": 1, "registryHash": "7746fa232c5a76e3", "buildSha": null, "operations": [ { "op": "activities.listActivities", "schema": false, "confirm": false }, { "op": "auth.getCurrentUser", "schema": false, "confirm": false } ], "enabled": [], "served": "none" }The example lists 35 operations. Two are shown here.
operations is what this build binds. enabled is what the served version of the agent turns on. While it is empty, the handler refuses every call.
Publish a version
The registry says what the app is willing to run. The version of the agent that an environment serves decides what the agent may call. A new agent has a draft and no version yet.
In the portal, open the agent's Actions tab and check that the Enabled switch of
setInvoiceStatusis on.Select Publish. See Publish a version.
Request the manifest again.
terminalcurl http://localhost:3000/api/faustine/manifest
The handler keeps the list of enabled operations for 60 seconds, so the change can take a minute to appear. enabled now contains invoices.setInvoiceStatus and served is ok. Your app was not rebuilt or deployed for this.
Ask the agent
Open
http://localhost:3000/invoices. The table lists the invoice INV-0002 with the status Sent.Open the widget and send this message.
Mark invoice INV-0002 as paid.
Checkpoint
The agent answers that the invoice is marked as paid, and the INV-0002 row shows the status Paid without a reload of the page.
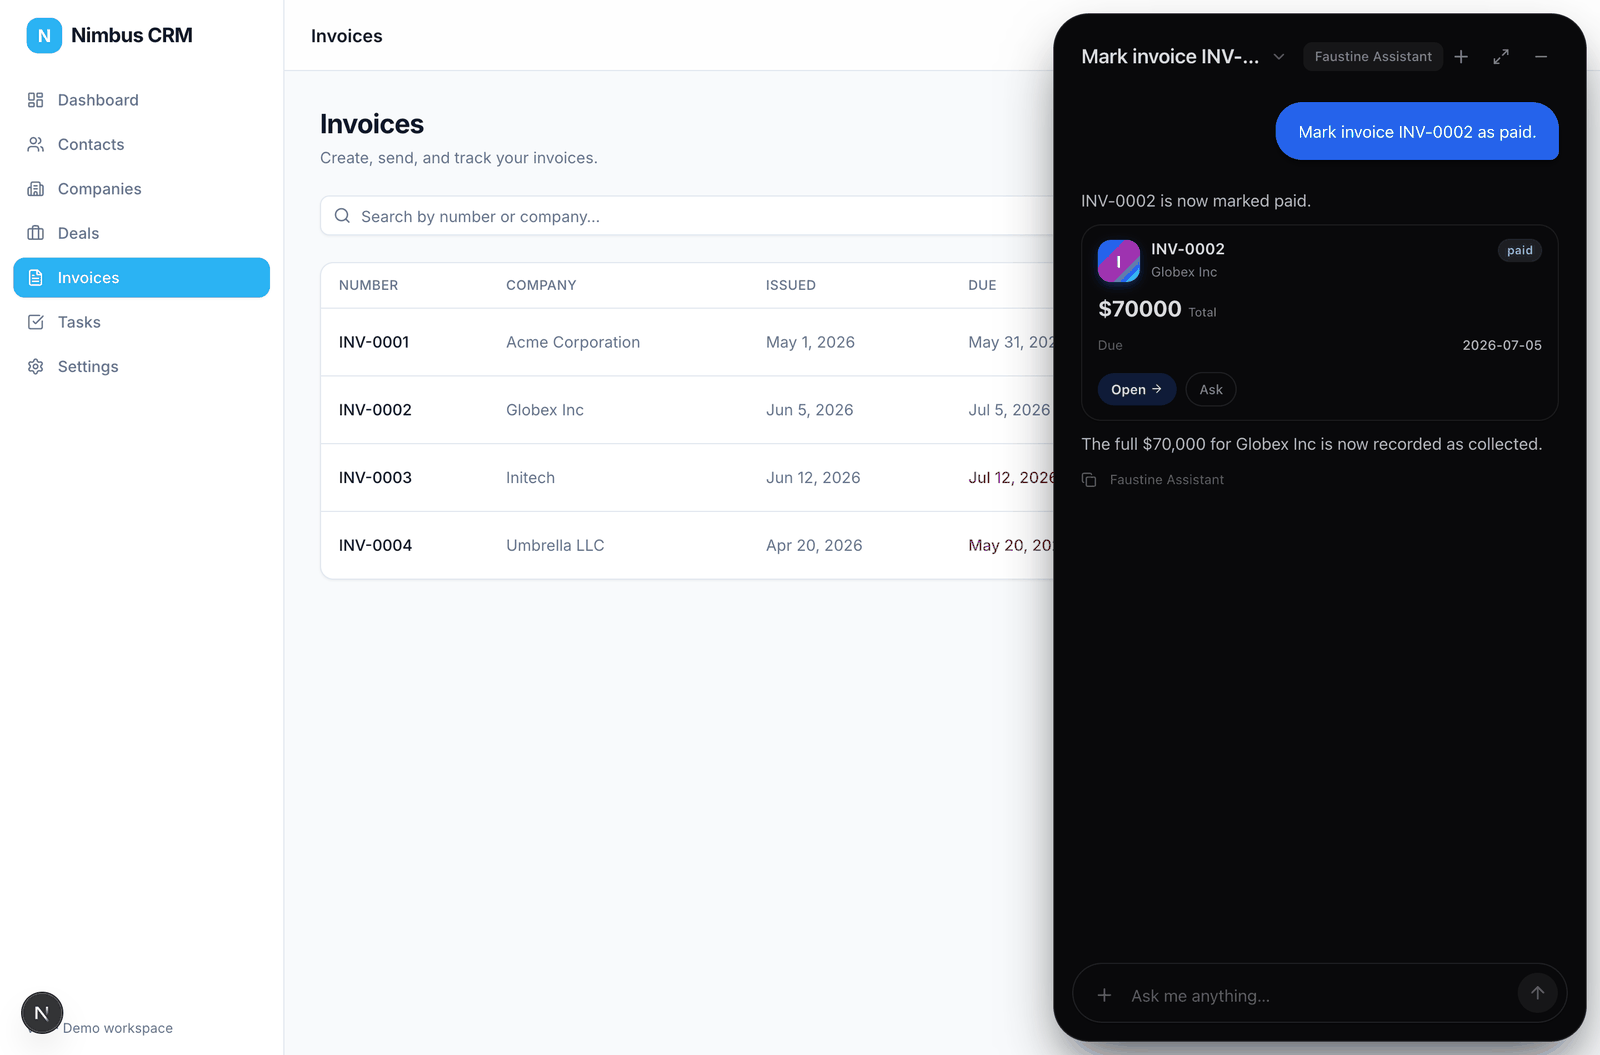
The agent sent POST /api/faustine/invoices.setInvoiceStatus to your app with your cookies. The handler ran setInvoiceStatus in your session, the function revalidated the invoices pages, and the agent asked the Next.js router to refresh the page.
Check the registry in CI
A Server Action added later is not in the registry until someone runs sync. sync --check fails the build when the registry is out of step.
Commit
src/faustine/registry.ts, the route handler andAGENTS.md.Store the adapter token file of your machine,
~/.config/faustine/adapters/<AGENT_ID>.json, as a CI secret namedFAUSTINE_ADAPTER_TOKEN_FILE.Add the check to your workflow.
.github/workflows/ci.yml- name: Check the Faustine adapter env: FAUSTINE_CONFIG_DIR: ${{ runner.temp }}/faustine FAUSTINE_ADAPTER_TOKEN_FILE: ${{ secrets.FAUSTINE_ADAPTER_TOKEN_FILE }} run: | mkdir -p "$FAUSTINE_CONFIG_DIR/adapters" printf '%s' "$FAUSTINE_ADAPTER_TOKEN_FILE" > "$FAUSTINE_CONFIG_DIR/adapters/<AGENT_ID>.json" npx faustine-next sync --check
The step exits with 0 while the registry matches and with 1 when sync would change it. The line you removed does not count as a change: the check reports it as left out. To fix a failing check, see Keep the adapter in sync.
What you built
The app has a registry of the server functions its agent may call and a route handler that runs them in the user's session. The agent's Settings tab shows the state of the adapter and its tokens under Faustine adapter.
Next steps
- Keep the adapter in sync: update the registry when the app's Server Actions change.
- Require confirmation for an action: have the agent ask before it changes or deletes an invoice.
- Verify your users with a signed token: sign the user's identity in the root layout.
- The Faustine adapter for Next.js: how the handler decides what to run.
Last updated November 12, 2026